The Perfect Way to hang Wall Art.
So you have just moved into your new abode. The removal van has gone, the heavy furniture pieces like your fridge, sofa, tables and bedding have all been arranged in their new positions. Your boxes have been emptied and put away, although usually there's a couple that take a little while longer to assign their final destinations (in my case these are the ones that usually contain belongings probably a little dubious to have been kept).
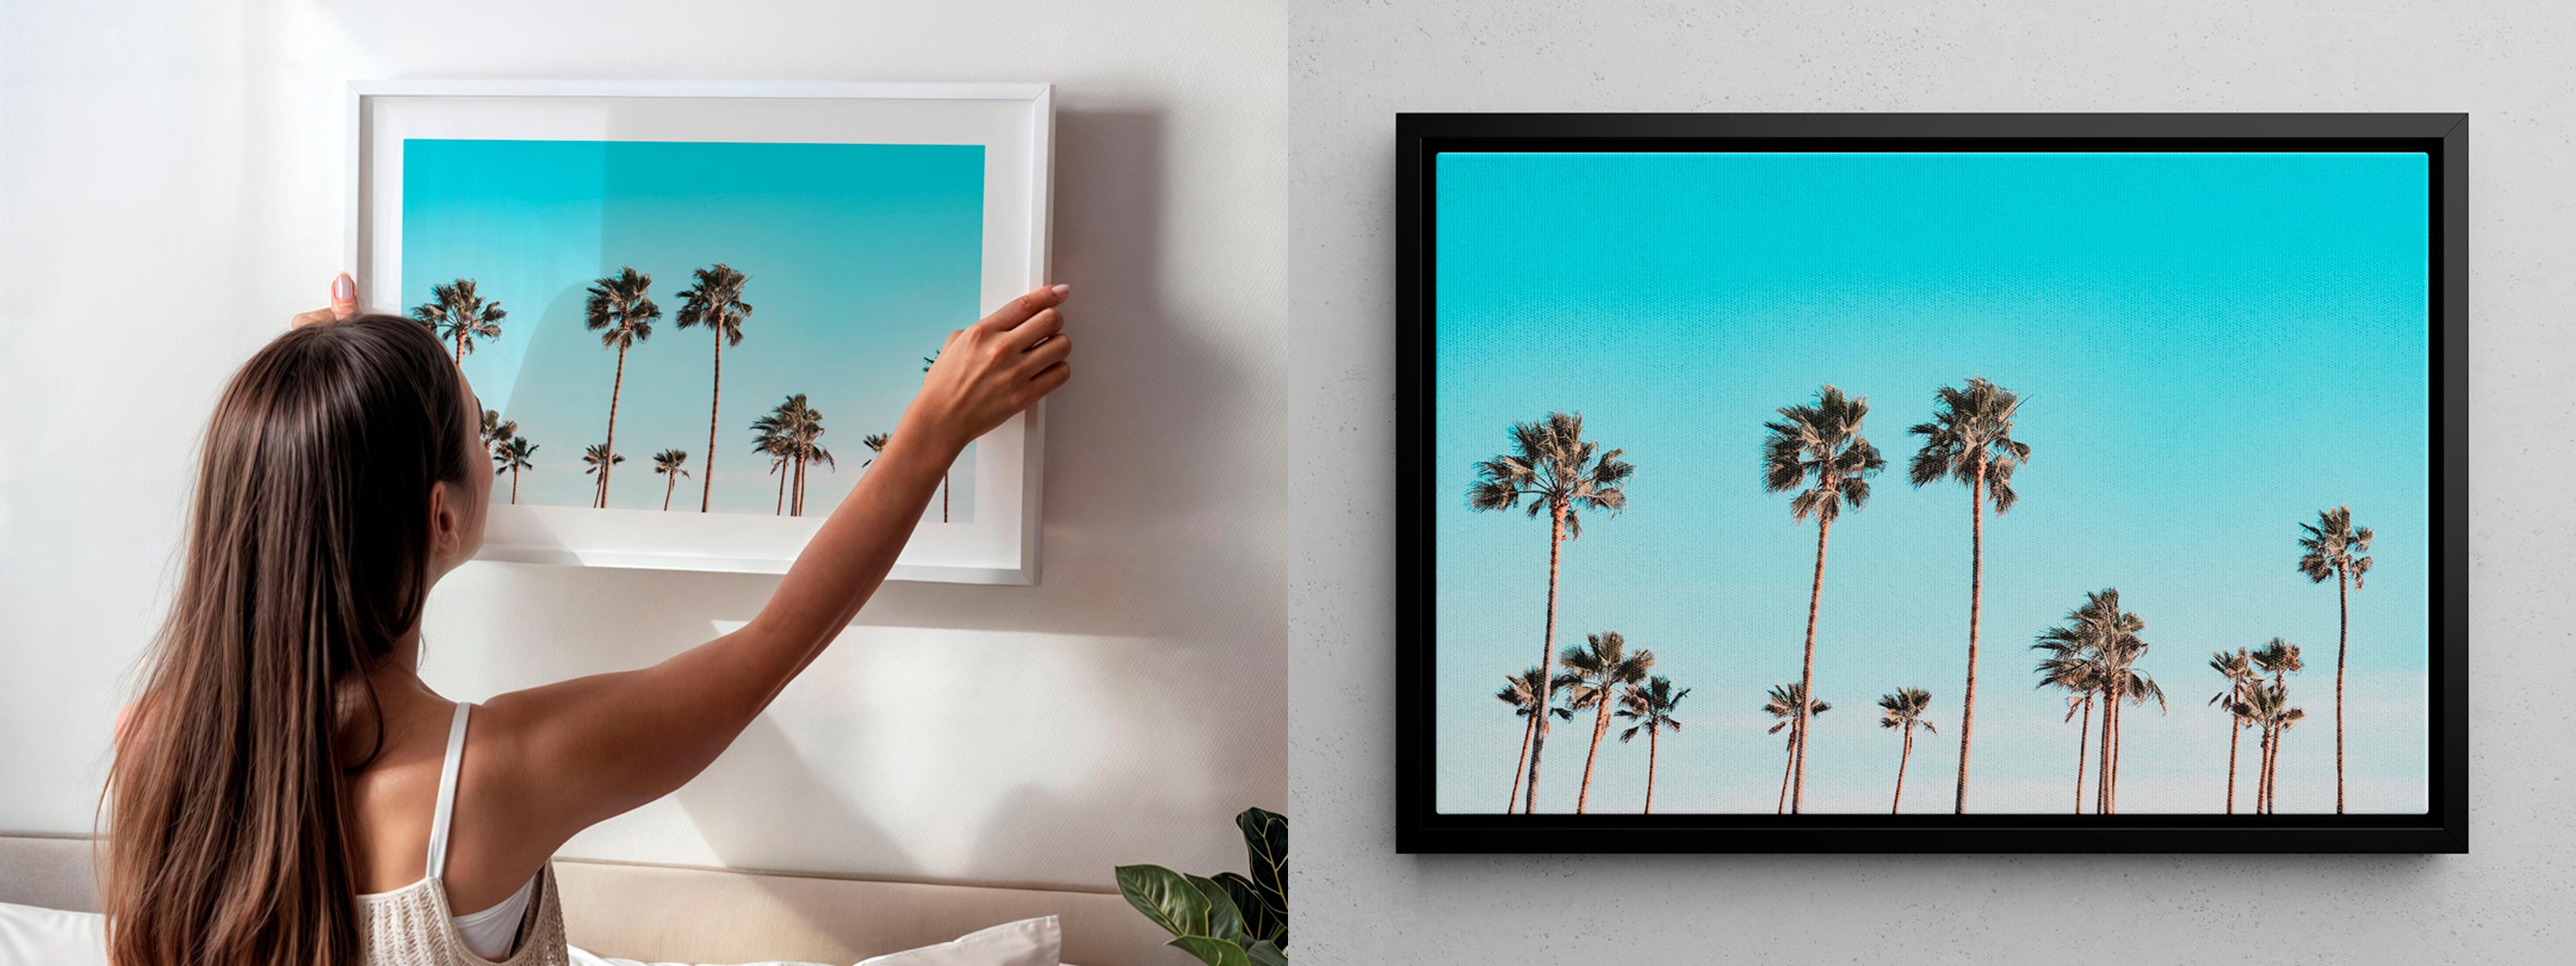
Then, the final most important step is hanging your Wall Art and Frames. I say important as I believe Wall Art is what really makes a room. The art on your walls gives an insight into the kind of person that you are, or at the very least, the image you are presenting to those lucky enough to enter into your personal domain. Wall Art gives a room a feeling of completion, that wonderful "tadah" moment.
So with all that in mind it is imperative that your Wall Art be hung at the right height. Firstly, so that it is pleasing to the eye for all those that enter, and secondly, when you finally sit down, you can be at peace in the feeling that all is right within your world.
So after many moves, over many years, I started to realise that there was a basic formula that can be applied to getting the perfect position, and that formula is...
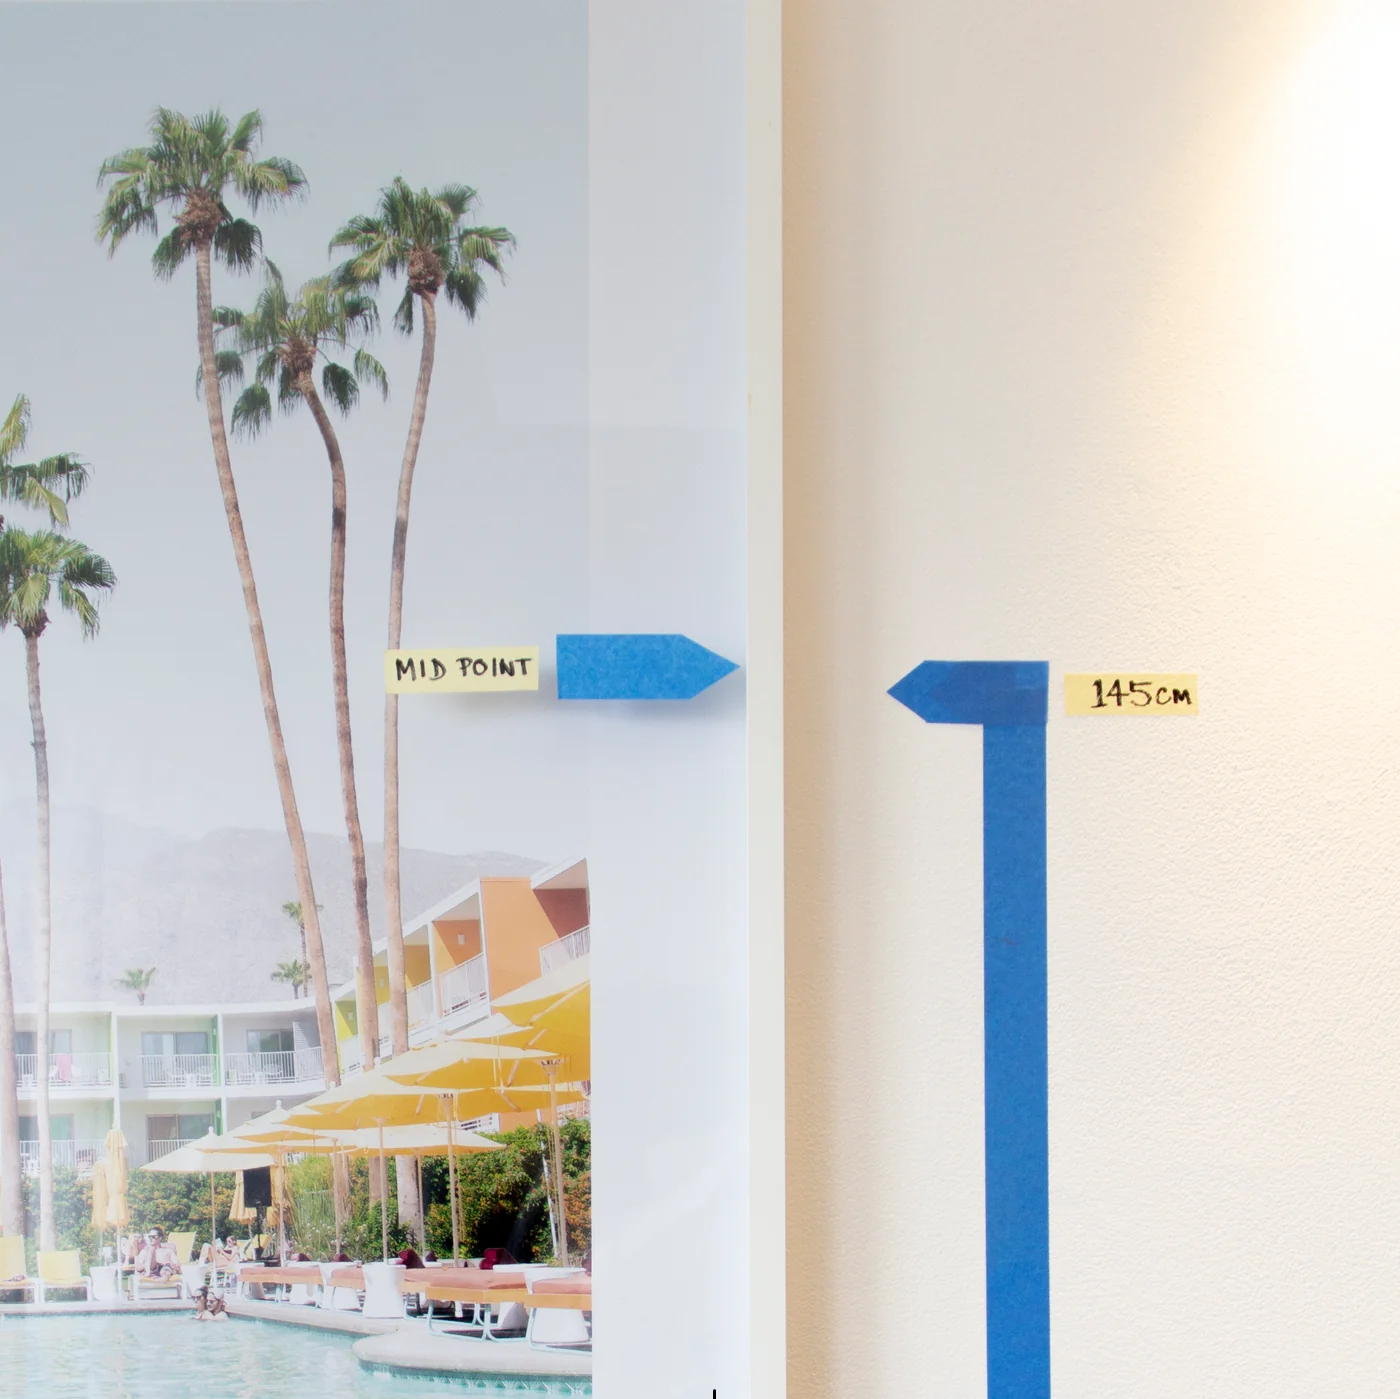
The centre of your Wall Art should always be at "eye level" which is 145cm up from the floor.
How simple is that?
I know eye level is different for everybody but trust me, this is the height that works.
To back it up, I have been in touch with a variety of galleries and discovered that this a pretty much a rule in thumb industry standard. You can waiver within about 5 cm either side, but please just don't stray too far.
Obviously this only applies to open walls. Art should never be obstructed by your furniture.
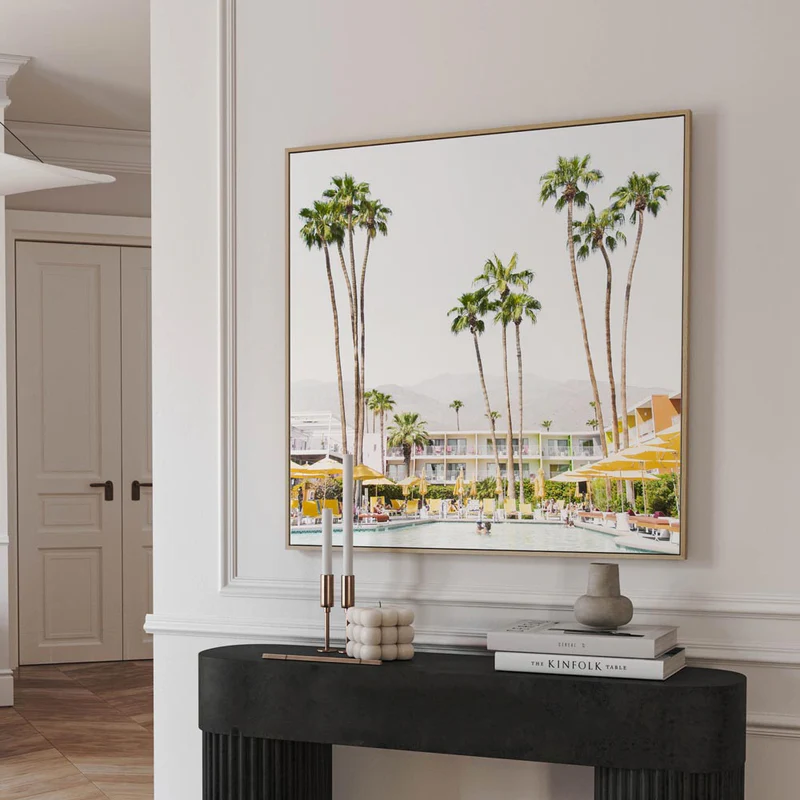
When hanging your art in relation to other furniture pieces such as a sofa, bed head or dresser. Then your artwork should be positioned with a 15cm gap between the 2 objects (with an allowance of 5cm leeway either side).
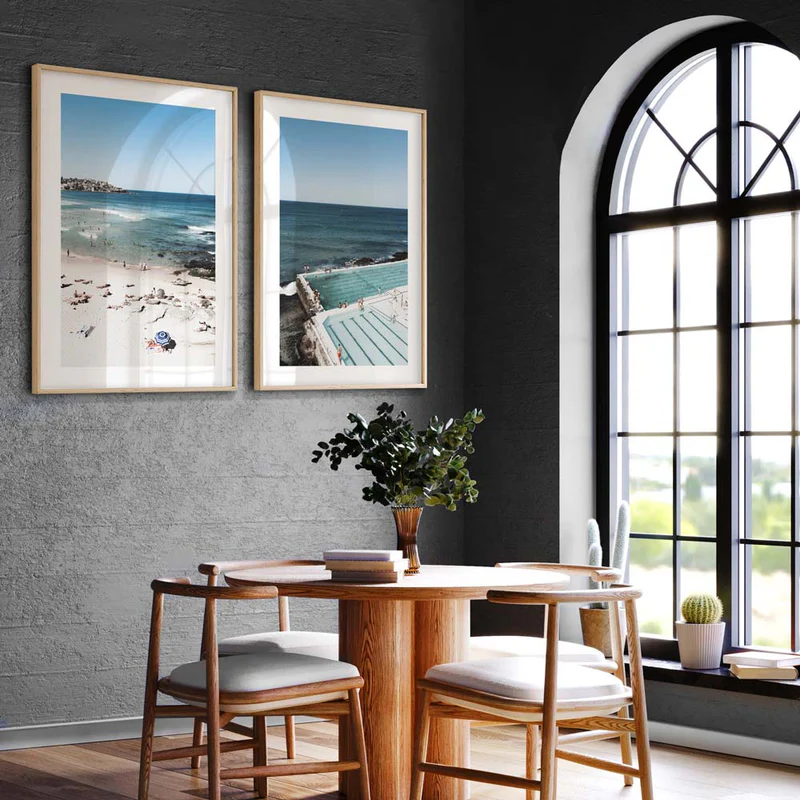
Interestingly the "eye level" rule also applies for Gallery Walls. Groupings should be considered as an individual piece, you just need to work out where the visual centre of your Gallery Wall is to be. This can easily be obtained by laying out the Gallery Wall in position on the floor prior to install. Just measure from the furthest outside dimension of your height, divide by 2 and this will give you the centre. Personally I like to cut out some paper the same size as your gallery images and position these on the wall prior to activating the power drill, just to be sure we are all hunky-dory.
A lot of people don't bother to include art into their living environments but we believe art is essential to your sense of well being. It doesn't need to be expensive but instead it just needs to sit within a design aesthetic that ideally brings you the feeling of calmness, serenity or joy.
Now you can go and hang your art with confidence.




Leave a comment
This site is protected by hCaptcha and the hCaptcha Privacy Policy and Terms of Service apply.